
I have made yet another cosmetic bag for your crafting enjoyment! This one starts off with a funky pattern but is pretty easy to construct. I got the tutorial from a post on craftster.org which you can find here. I will walk you through my process and you can check out this tutorial for more information!
Here is the final product:

You will need a zipper at least 7" long and enough fabric to cut 2 pieces of each using the pattern pictured below. I once again lined my interior fabric with iron-on vinyl (see Cosmetic Bag #3 for an explanation of this product) and adhered a layer of interfacing to my outer fabric. For great details on how to draw the pattern see the tutorial linked above. This is the one I drew from their instructions.

After cutting out your fabric pieces and ironing on any extras you would like to use, the first thing you will do is prep your zipper. This bag, like Cosmetic Bag #1, also has zipper end covers to make it look nice, but these are really easy to do. Cut two 1" square pieces out of your extra exterior fabric. Place the first square right side down, right next to the metal crimp at the end of the zipper. Leave most of the square on the inside of the metal crimp (and about .25" to the outside of the crimp) and sew. Unzip your zipper and repeat this process with the other square 6.75" away from the metal crimp. Flip the squares so right sides are now facing up and press. You will now have nice little zipper end coverings like pictured below.


Repeat this step with the other side of the zipper and remaining two fabric pieces. Now flip your work to right sides out and wrong sides together and top stitch on either side of your zipper.


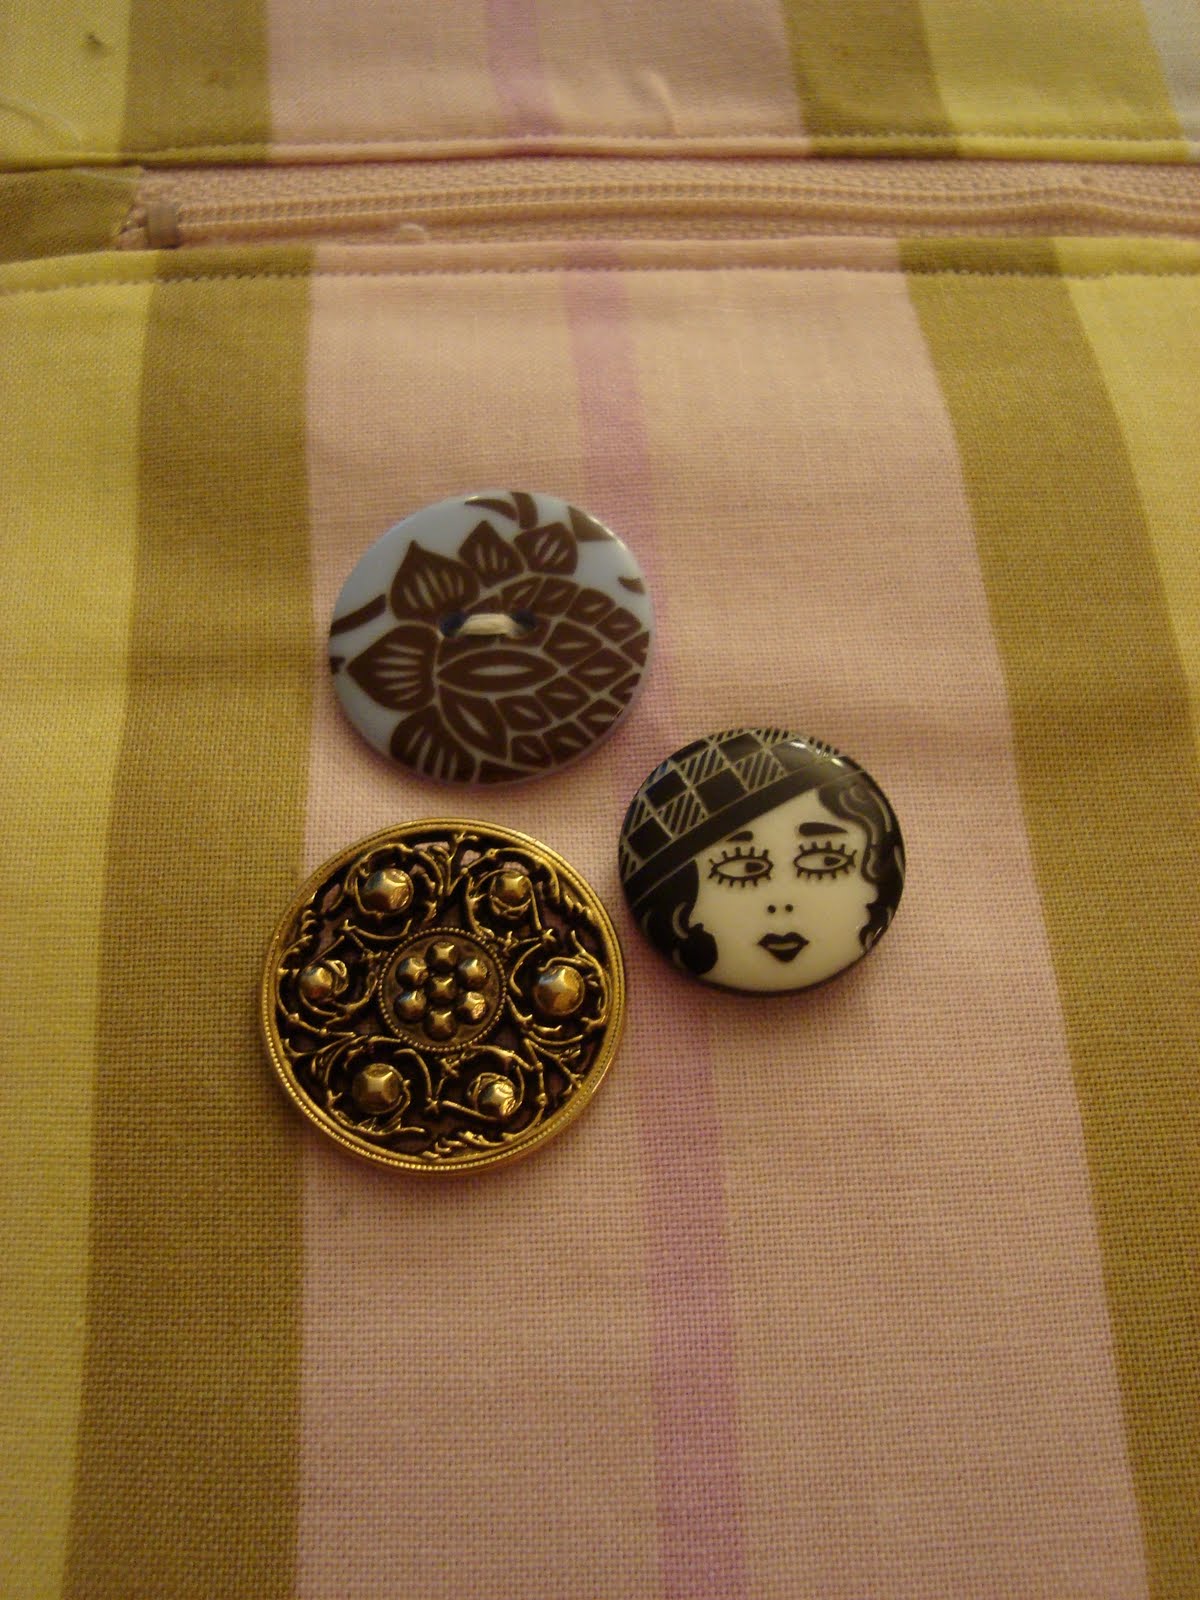
Next I took time to embellish my bag a little with a fun assortment of cute buttons to add something extra.
After this it is time to sew up the edges of the bag. To do this turn the outer fabrics right sides facing each other and do the same for the linings. Sew around the edges, using a .25" seam allowance but do not sew around your square cutout areas. Also leave yourself a 2 inch opening in the lining to turn your cosmetic bag right side out later.

This picture shows one of the angular cutouts and the opening in the lining which you should not sew up yet.

Now it is time to sew up the cutouts in a way that will make the base of the bag. Pinch the opening with the two sewn sides of the cutout together and the other corners facing out. Pin and sew across the opening.

Repeat this will all 4 corners and trim excess fabric. The bag should now look like this:

Now it is time to turn the bag right side out through the opening you left in the lining.

Once turned right side out and cleaned up, sew closed your opening in the lining. THE END!

As you can see my bag looks a little wrinkly. I think this is because the thick interfacing and vinyl got wrinkled when I scrunched up the bag to turn it right side out. Again I did not want to iron it because the inside is plastic but I believe the wrinkles will go away after some use.


I am pleased with how it turned out and think this is a very practical and useful shape for a cosmetic bag. What do you guys think?
I have one last cosmetic bag planned for you all tomorrow! However now that I have started these, I am already thinking of so many others I want to try! I am afraid I will soon have more little zipper pouches than I could ever use...
*Bonnybee
No comments:
Post a Comment