

Here is a picture of the before dresser (the pic is of just one but I have two identical ones that my mother let me take from her house)

This transformation was done in four main steps:
1. Degloss the furniture. Recently from another furniture redo-er I learned about liquid deglosser (see photo below) This stuff is awesome. Instead of sanding off an old finish you just apply this product and it prepares the surface to be painted. It is pretty strong stuff so make sure to do it in well ventilated area or outside, wear a protective mask, gloves and goggles and read the directions. Overall you just wipe the furniture down with a rag dampened with this stuff, let it dry and you are ready to paint!

2. Paint. I brushed on two coats of Valspar's Muslin Wrap from Lowe's. I painted these pieces by hand because they were large pieces and because I wanted to match the color to a bed that I had purchased for the room. (Pictures of the bed to come later)
3. Distress. I got my shabby chic look by distressing the drawers and dressers with sandpaper and power sanders. I am still working on my technique but what I suggest for people wanting to try it is don't stress too much. Just try it! Start with a little sanding on edges and corners and keep going until you get a result you like.
4. Protective wax coating. Lastly for a protective finish I used the same paste wax as I did for the farmhouse cart coffee table for a protective but not shiny finish.
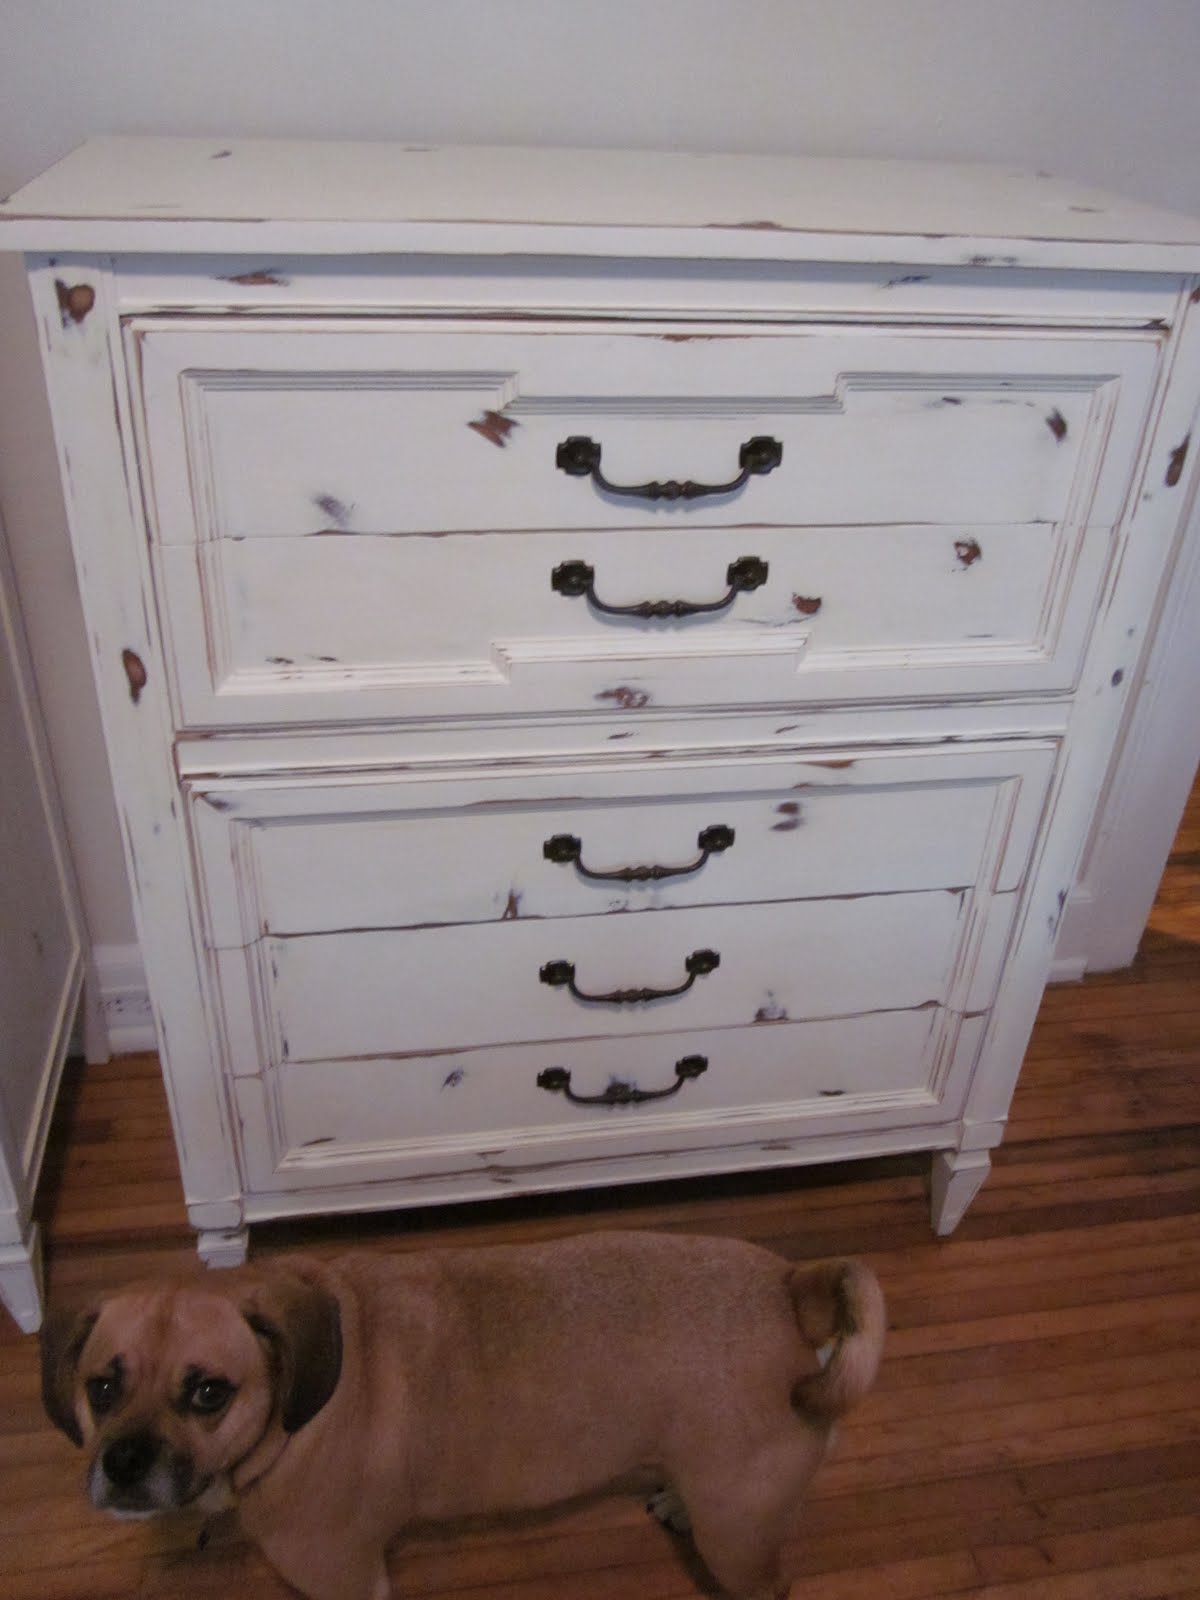
Because there were two large pieces, they had to be carried in and outside, it rained one day and multiple other factors these took awhile to complete. At times my boyfriend asked "Why didn't we just leave them brown again?" but now that we are finished, we are both thrilled with the results. Here are some more photos of the final product.


Please let me know what you think in comments below and stay tuned for more furniture redos and decorating adventures!
*Bonnybee
Your little dresser's turned out great! I love the distressed white. You did a fabulous job! :)
ReplyDelete