Monday, June 18, 2012

Father's Day Note Cards

For this Father's Day I wanted to make something as a thoughtful gesture for my Dad. This is a super easy project that you can customize and make for someone in your life. I choose to make note cards that were more manly and literary themed because so many of the note cards out there are feminine and not appropriate for my father, the man behind The Book Shopper.


Materials needed:
- blank note cards
- decorative papers ( I also used old book pages)
- scissors
- Mod Podge or other decoupage medium 
- foam paint brush

I choose a few different shapes (mustache, coffee cup, Pynchon's muted horn, my father's initials) to cut out of decorative paper and layer on top of the book pages. 


To add the papers to the blank note cards I used trusty Mod Podge. I applied a thin layer of Mod Podge then layed down the book pages. Then I added a little bit more and added my chosen design.


Then I put another even coat of Mod Podge over the entire design so it has a sleek finish. Next I let the cards dry overnight.


After drying overnight my cards were a little warped. But no fear, after a few hours under some heavy books they were flattened perfectly.


 After this I just packaged them up and sent them off to arrive by Father's Day! My Dad thoroughly enjoyed them but argues that no one is special enough to receive these custom cards. I don't know if they are that good but leave it to a father to think his daughter's work is special.


This was a fun project to me because my father is such an important person in my life. So if you like the idea, take a night to make some pretty and personal note cards for someone special to you! Let me know if you think you will give it a go!

I would love to hear from y'all,

*Bonnybee

Thursday, June 14, 2012

Bridesmaid Gifts


Now that I have had the wonderful joy of asking several special ladies if they would be bridesmaids in our wedding, I can share the gifts I made for them. I wanted to have some kind of sweet gesture to present to them when I asked, so I chose to make personalized ring bowls and a custom ring to go inside. 

 The experience of making the ring bowls (an idea I first got from Pinterest) was a tad bit frustrating. I have done pottery for many years and have been missing my pottery studio (previously located in my mothers garage) tremendously. These ring bowls were made with oven bake polymer clay and the properties of this clay are so different. I found it hard to smooth out bumps and uneven spots with this clay and was frustrated with the wonky shapes when I knew that I could throw perfectly symmetrical ones easily if I had a potters wheel. However the girls seemed to like them (or were too nice to show their disgust in front of me) so I consider it a success.


I will show you how I made mine and also tell you some of the problems I encountered so you can do some experiments of your own!

Materials Needed:
     - oven bake clay
     - smooth surface or mat to work on
     - paring knife
     - rolling pin
     - doilies to add texture (I used paper doilies but looking back thicker ones like crocheted ones would have made a more noticeable imprint)
     - letter punches or stamps
     - an oven safe bowl to use as a mold
     - an oven


 First you work the clay with your hands to make it softer. Next roll out a pad of clay between 1/4 and 1/2 inch thick.

Then cut out a circle. I used an old CD to cut around so I would have a symmetrical circle. Try and cut as evenly as possible as I found it difficult to smooth out rough edges later. Sometimes I went over the clay a few more times with the rolling pin to soften out the blunt edge.


 I then laid the clay into a ceramic bowl I had (made by me on my potters wheel). I found that I had to leave my ring bowl in the ceramic bowl even during baking because if I baked it on its own, the edges sank. Press the doily or any other item into the soft clay to add decorations. I choose to add each girls name in the center of the bowl with letter punches.


Then bake the clay according to directions. My directions said to bake the clay for 30 minutes. This had the first one coming out a little soft still so I baked it for closer to 50 minutes for the others. I visited the Premo clay website and they said to not exceed baking time (but it is the only thing that worked...so I ignored them). They also said to clean oven after using it for baking clay, don't breathe fumes and do not use dishes that clay was baked in for eating ever again. Man these seem like a lot of rules that I don't remember from the last time I used oven bake clay (As a kid making clay animals at my grandmother's house).


So because I only had one bowl to bake them in, I had to bake all seven bowls separately! Ya, it took a few nights. Because of the aforementioned frustrations I will probably never make ring bowls with oven bake clay again. However I do want to throw some on the potters wheel and decorate them with crochet doilies as soon as I have my potters wheel back again.


Above are a few shots of the ring bowls and below is a close up of what I thought was the more important part of the gift, a Bonnybee Designs ring made by me!

 I really like how the rings turned out. When I was modeling the ring for the picture below I was quite tempted to keep one for myself! I made some extras so if people like them perhaps I should put some in my etsy store?

All in all the gifts were fun to make and I had such a great time giving them to my friends. I got to ask several of them in person at Tim and I's engagement party weekend before last.

Tim and I at our engagement party
The whole party was so fantastic and got us both super excited for the wedding next year! I truly am one lucky girl.

*Bonnybee

Monday, June 11, 2012

My Recent Finds

This weekend I went hunting for wedding decor (planning on slowly acquiring what I need over the next year) and chairs to practice reupholstering. I thought I would share what I came home with!

I tend to have ups and downs when going "junking". Other people always seem to find this awesome furniture (not that if I found any I could fit it in my Honda Civic to take home) for really cheap and I always seem to come up short. This weekend Tim and I tried out 3 or 4 places to try and find some good shopping locations.

First we stopped at a Goodwill which had no good chairs but their other wood furniture pieces were way expensive ($300 for a nasty, not-even-antique wood dresser!) so I don't think I will be visiting there again. Next we went for lunch in downtown Homewood and shopped around the adorable Homewood Antiques and Marketplace which is my new dream location to someday have a booth selling my goods and redone furniture. They of course had wonderful things but nothing in our budget or needing redoing. Then we searched out a flea market I found online and after 20 minutes of searching (driving up and down the street over and over and asking people at a Dollar General) we determined this flea market did not exist. At this point I was ready to call this trip a bust.

However we carried on and checked out a nearby Salvation Army. Once again no luck with furniture but I did find a bunch of decor items that will be perfect for wedding decor.

 I got this lot for less than $20 and was pretty excited about it (Sorry it is hard to see because I took the photo with my phone). I got tea cups for teacup candles like these. Heavy candlesticks and cute plates for desert stands like these. A metal tray to add chalk paint to for a sign like this. I also got some little bottles, lanterns and baskets for super cheap.

After this trip my mood had improved but I was still wishing I had found a chair or two. Stopping by one last thrift store, we saw it was closed however I spotted some old dining room chairs on what I guessed was a trash heap. Their upholstery was totally water damaged and absolutely disgusting so I went ahead and grabbed the one with arms and threw it in the back seat!


These windows were snatched a few weeks ago but we drove by the place I got them (the dumpster outside a window store) again this weekend on the way to the dog park. Tim and I's conversation went something like this...

Me: Oooh OOh Tim look they put out more windows!!! Let's stop!
Tim: Bonnie, you got a ton of windows last time.
Me: I knowww but these are different!! They're different shapes...I need some of these too (this is being said in a super whiney pleading voice)
Tim: How about you use the ones you have first before you get more?

Ah he does keep me grounded; also prevents me from filing our entire apartment with junk I want to use for projects. So he is right...I will do some projects with a few of them then GO GET MORE!!!!!

So are you guys excited to see what I use this stuff for? Or does it just look like a bunch of junk to you? You can be honest.....but make sure to check back because I will make a believer out of you!

Off to use some of my "junk",
*Bonnybee

Tuesday, June 5, 2012

Easy Peasy Hair Elastics


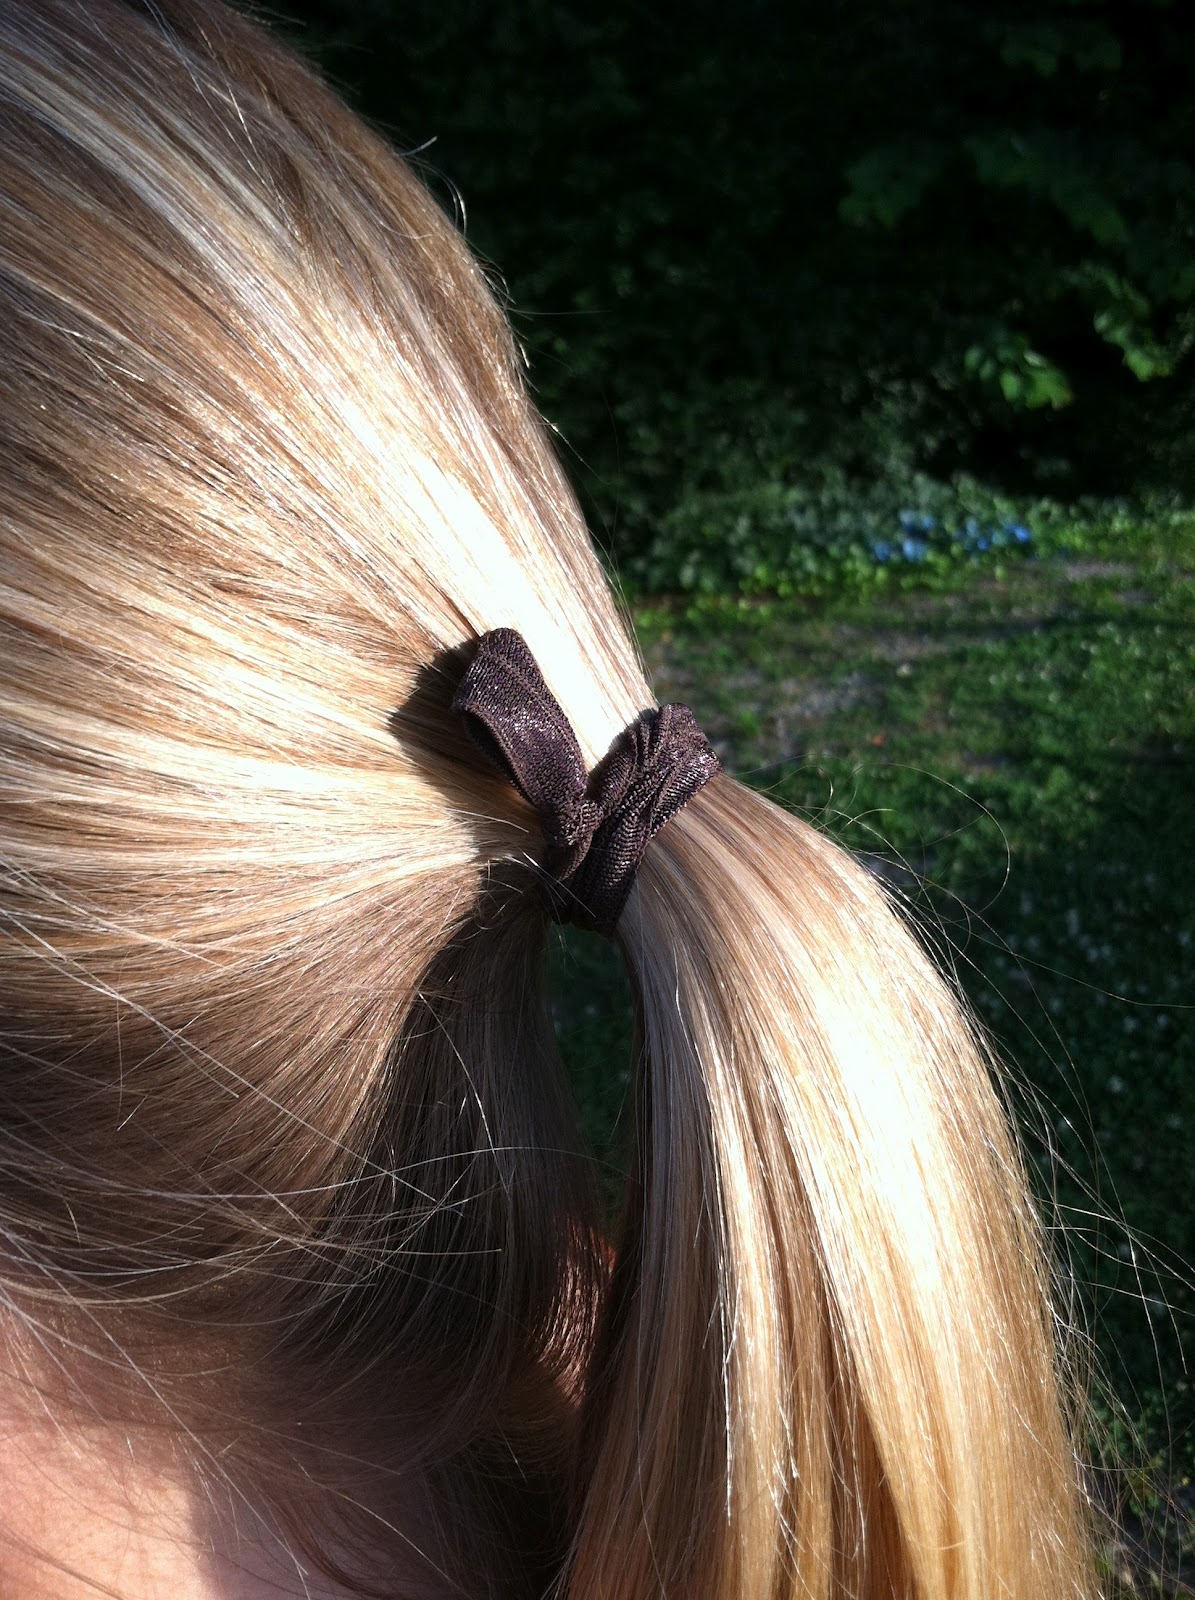
     This is a super easy DIY that anyone can do. I have been seeing these cute new hair elastics around and knew it was a make instead of buy kind of thing. I have heard that they are better at not breaking your hair, don't leave dents in your hair (which I have found to be true) and I think they are cuter to wear on your wrist.  So in this post I am going to show you how to make some hair elastics of your own.


Above you can see the variety of colors I made. I bought all of my elastics from the following two shops on Etsy - MySunshineSupplies and ElasticHouse. There are a variety of colors and vendors on Etsy and I am sure other places, but I was very satisfied with these. Other elastics that I have seen my friends wearing were a little smaller and were a little tight on my larger wrists. Thus I decided to make mine plenty big. I started with about ten inches of elastic.


Next I just tied a simple knot and pulled it tight based on how large I wanted it to be. Then I trimmed off any excess and singed the edges with a lighter to prevent fraying. I was a little unsure that they might still fray, get loose or worn out but so far I have been loving them!


The best part about these is that they are so quick and cheap to make. So grab some elastic, some friends and make a bunch! I would love to hear if y'all decide to make these.

*Bonnybee

Tuesday, May 29, 2012

Repurposed Kitchen Drawers

 This is a project that I did awhile ago and absolutely love but haven't posted yet. A few summers ago when my mother was renovating the kitchen in my childhood home I stole some of the rubbish before it was tossed. One thing I salvaged was a few kitchen cabinet drawers. Whenever I keep some kind of trash (which is a lot) my friends and family always think "What in the world is she going to do with that?"And the answer most often than not is -- nothing. I always see some kind of potential but more often than not the piece just clutters up some corner somewhere.

Well for these drawers that was not the case. I hauled these things all the way to Birmingham when we moved, convinced I would find some purpose for them in our new home. Well, when decorating our "white shabby chic bedroom" I was struck with a genius (that is what I am calling it so just go with it) thought. I decided these old drawers would make awesome shabby chic shadow boxes/shelves to put over our matching dressers. I lined the back of the drawers with fabric (burlap for him and white eyelet for her), added some hanging hardware and some accessories and Ta-Dah! Awesome bedroom decor! I am totally in love with them and with the fact that I actually used some of my hoarded rubbish. Check out the pictures below and let me know what you think!


****disclaimer: much to my dismay the tops of our dressers have never been this clear again. ever.

So if you ever see some good rubbish that could be refashioned into decor go for it! Or at least send me a text and let me know where I can pick it up...

Until next time,
*Bonnybee


I'm Linking up here:

HouseofHepworths

Tuesday, May 15, 2012

Looking Forward to - Wedding Favors!

I tend not to share much about my personal life on this blog but as it will be influencing the projects I do in the upcoming year greatly, I wanted to share that almost two months ago, I got engaged! My wonderful fiance Tim (whose helping hand and adorable face has made an appearance on this blog a few times) and I have been best friends for many years and will be getting married in May of 2013. I am so excited to plan our special day and will be sharing all of my DIY goodies on this blog along the way.

One aspect of the party that I want to add my personal touch to is the wedding favors. Below are just a few fun ideas that have caught my eye on Pinterest.


Homemade Vanilla Extract
Succulents


Wine Corks

Handmade Soaps

I am picturing a fun shabby chic desk with lots of character hosting a beautiful display of a collection of goodies where guests can choose the perfect souvenir for themselves.


 What do you think? Which of these favors would you choose? Do you have other ideas? Can't wait to share this journey and all my decor ideas with all of you!

*Bonnybee

Wednesday, April 18, 2012

Bracelets for Blair

Well technically these bracelets were made for children in Ethiopia that Blair is going to visit but I am a sucker for an alliteration. Today I want to share with you a fun project I participated in through a blog I follow. I am a huge fan of Blair's blog A Case of the Mundays. Awhile ago she posted about a trip she and her husband will be taking to volunteer in Ethiopia. They will be bringing soccer balls and bracelets to give out to the children there. In this post I am going to share why I think this is such a wonderful idea. Check out the post about her trip here (and if you are feeling crafty make her some bracelets!)


{The bracelets I sent Blair}

In the summer of 2008 I spent a large chunk of my summer volunteering in Tanzania with people affected by HIV/AIDS. It was a life changing experience (the details of which I won't get into here). During the five weeks I lived there I got malaria, got very lonely at times (I went all by myself) but more importantly I met inspirational people that changed my life forever. I was shocked at how people that I thought needed so much help were incredibly strong, resilient and tremendously loving.

I wanted some kind of gesture that I could do for these people that had inspired me. So, being the crafty person that I am, I decided to make them something. Now I was in a rural area (sorry, no Hobby Lobby here!) so finding supplies wasn't easy. After a long time of searching I found some colored cord at the local market and I took off making a few dozen bracelets. I was even asked to teach the women at the community center how to make bracelets because they thought they could sell them for income. Also a new friend there insisted on making a bracelet for me and I came home wearing a bracelet of my own that stayed on my wrist for more than 3 years.


{New friends wearing the bracelets!}


{Teaching how to make bracelets}


Making and giving these bracelets is one of my fondest memories from this trip so as soon as I read Blair's post I knew I had to get involved. I made some bracelets out of the same cord I purchased in Tanzania and sent them to her recently. She mentions receiving my package in this post!


{My cord from Tanzania}

This fun blogging experience was so exciting for me. It also made me think a lot about my experience in Tanzania and for that I am grateful.

What do you guys think? Have any of you volunteered and brought fun personal gifts with you? Are any of you off to make some bracelets? I sure hope so!

*Bonnybee