
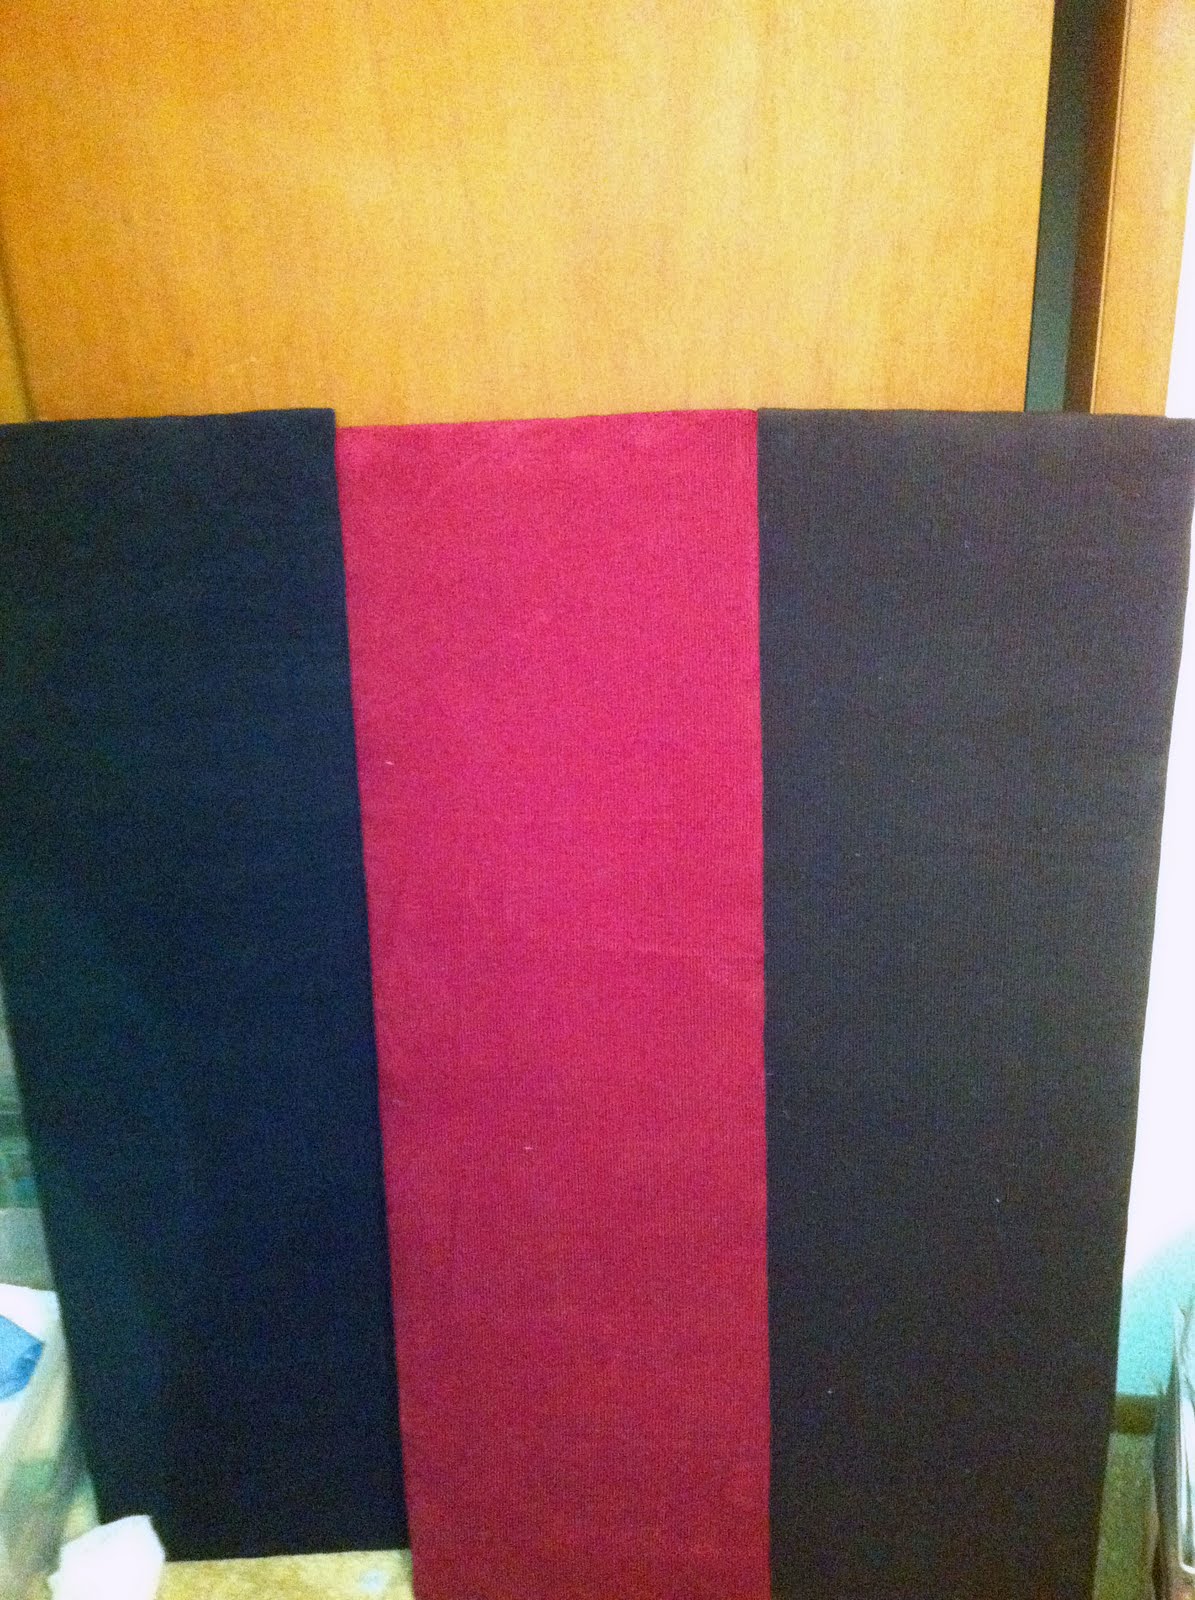
 This is the finished product but I want to share with you the process and some helpful tips I discovered, as well as offer some links to other great tutorials and photos. First we headed to the fabric store and I was on the hunt for something rich in texture but plenty manly. I decided on corduroy which was on sale for $4.99/yd and they had the colors I wanted for his room (black, red and brown). We purchased 1.5 yds of each of the three colors and the cost came out to be a little over $20. Since I owned the rest of the materials needed this plus hardware was the entire cost of the headboard. If you are not like me and do not have stockpiles of crafty materials, you will also need to purchase wood for the backing and padding.
Note on wood: There are several things to consider when choosing wood to use for the back of your headboard. It will be covered with fabric so it does not need to look pretty, plywood or even particle board will do just fine. These are also less expensive than solid wood. You want something that is thick enough to staple the fabric onto but the lighter the weight the better, especially if you are going to hang it.
Note on padding: There are also many options for the padding depending on how fluffy you want your headboard to be. I used sheets of quilt batting which comes in rolls, so I was able to make it as thick and fluffy as I liked. If you want an even fuller look, you can add a layer of upholstery foam before the batting.
First we cut the three pieces of wood to our desired dimensions, 14in tall x 54in wide each. Since I do not yet have the wonderful workshop I desire complete with a table saw and oodles of other power tools, for the time being I use only hand held power tools. Thus we cut the boards using a jigsaw. Obviously a table saw would have been easier but I believe in making what you have work so if you have to, use a jig saw or even a hacksaw (or when purchasing your wood ask the friendly sales associate to cut it to your desired size).


Also, I am too cheap to purchase a normal pair of safety goggles for woodworking when my Chemistry Lab goggles from college do the job just fine. Safety before style kids!
After cutting the boards to size it was time to upholster them.

First we layered our materials, fabric with right side facing the floor, followed by three layers of thick quilt batting and last the wood.

We cut the fabric and batting to size, leaving a few inches around each edge that next were folded over the back of the wood and stapled down.

When stapling you must make sure to hold the fabric taught and pull it evenly all the way around so there are no weird bumps or pulls. I find it helpful to have two people here so one can be holding the fabric and the other wielding the staple gun. It is also best to only staple a few staples at a time and alternate sides so you are pulling evenly on both sides.


Corners can be tricky but all that matters is that the front looks pretty. Also, I use quite a few staples. One could probably get by with a staple every 4 or 5 inches, but I enjoy using my staple gun so I put one every inch or two. After finishing I trimmed the excess fabric and batting and repeated the process with the other two boards.

Wrigley was not a fan of the staple gun but did enjoy laying on top of the fabric.

All three panels completed!
Last came hanging the headboard. Now this is an area which I feel shows and websites tend to skim over far too quickly and it gives me the most trouble. I never know what kind of hardware to choose! One awesome thing about headboards is that you can choose to make it long enough to go behind the bed and rest on the floor. You can also attach two legs made of one by twos that will hold it standing up while wedged between the wall and the bed. Since our creation was relatively light we decided to go a different way and hang it. We joined the three wood pieces with wood joiners and hung it as one piece from a metal wall cleat. It was not the easiest way to do it but once it was on the wall it was very sturdy and looked great!


Wrigley was not a fan of the staple gun but did enjoy laying on top of the fabric.
All three panels completed!
Last came hanging the headboard. Now this is an area which I feel shows and websites tend to skim over far too quickly and it gives me the most trouble. I never know what kind of hardware to choose! One awesome thing about headboards is that you can choose to make it long enough to go behind the bed and rest on the floor. You can also attach two legs made of one by twos that will hold it standing up while wedged between the wall and the bed. Since our creation was relatively light we decided to go a different way and hang it. We joined the three wood pieces with wood joiners and hung it as one piece from a metal wall cleat. It was not the easiest way to do it but once it was on the wall it was very sturdy and looked great!
Scary looking yet effective wood joiner and a metal wall cleat purchased at Home Depot
 Final product hung securely on the wall
 Final product hung securely on the wall
Also while we were working on room improvements I snuck in a few other updates. We didn't want to spend any money but I chose a few select pieces from extra bedrooms at my house to make the room complete. Here are some before and afters for your viewing pleasure.
Before:


Before:


After:
 We brought in a comfy chair (acquired from a neighbor at my college apartment!) and hung some beautiful African woodcarvings that I bought in Tanzania and got framed, but had nowhere to hang at my house. They were the perfect colors.
 I convinced him to make one more purchase -- curtains.
 This is not my most incredibly decorated room but for one day and spending hardly any money I was proud of our transformation, particularly the new headboard!
More Headboards!
I think that Do-It-Yourself headboards are absolutely the way to go. It is far more budget friendly and the possibilities are endless.
When planning this headboard I recalled an episode of Myles of Style I saw on HGTV with a three panel upholstered headboard. Well, after completing the project I googled it and found a YouTube video tutorial. (Would have been helpful before I started, but we got by just fine)

Check out this photo gallery for some inspirational headboard photos like this one.

Here is a tutorial from one of my favorite crafty blogs, All Things Thrifty, where Brooke makes an incredible multiple pieced upholstered headboard.

Like I said before, the possibilities are endless so no need to keep it square. For my next headboard I will definitely be jigsawing a wonderfully shaped piece to upholster. Possibly something like this one I found in a post from Centsational Girl

Michelle from Three Men and a Lady created an aesthetic similar to the headboard above and has a great tutorial on her blog!

I hope you all are feeling inspired now! After this warm up project and all these great photos I am ready to do some serious redecorating. Unfortunately I have no house to redecorate, but I will continue to hone my skills and store up ideas until that day comes!
In the mean time, I would love to hear from you all so you are invited to leave comments below. Thanks for reading,
*Bonnybee
 We brought in a comfy chair (acquired from a neighbor at my college apartment!) and hung some beautiful African woodcarvings that I bought in Tanzania and got framed, but had nowhere to hang at my house. They were the perfect colors.
  I convinced him to make one more purchase -- curtains.
  This is not my most incredibly decorated room but for one day and spending hardly any money I was proud of our transformation, particularly the new headboard!
 More Headboards!
I think that Do-It-Yourself headboards are absolutely the way to go. It is far more budget friendly and the possibilities are endless.
When planning this headboard I recalled an episode of Myles of Style I saw on HGTV with a three panel upholstered headboard. Well, after completing the project I googled it and found a YouTube video tutorial. (Would have been helpful before I started, but we got by just fine)

Check out this photo gallery for some inspirational headboard photos like this one.
Here is a tutorial from one of my favorite crafty blogs, All Things Thrifty, where Brooke makes an incredible multiple pieced upholstered headboard.
Like I said before, the possibilities are endless so no need to keep it square. For my next headboard I will definitely be jigsawing a wonderfully shaped piece to upholster. Possibly something like this one I found in a post from Centsational Girl
Michelle from Three Men and a Lady created an aesthetic similar to the headboard above and has a great tutorial on her blog!
I hope you all are feeling inspired now! After this warm up project and all these great photos I am ready to do some serious redecorating. Unfortunately I have no house to redecorate, but I will continue to hone my skills and store up ideas until that day comes!
In the mean time, I would love to hear from you all so you are invited to leave comments below. Thanks for reading,
*Bonnybee
No comments:
Post a Comment